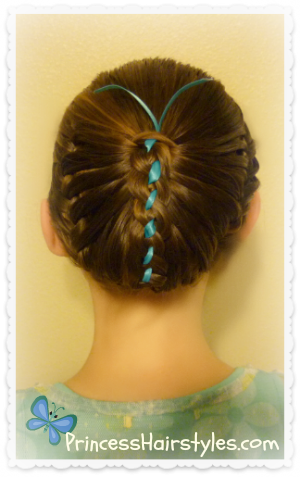
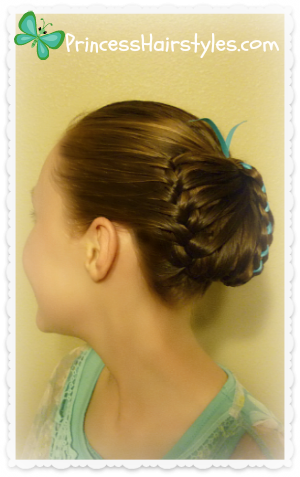
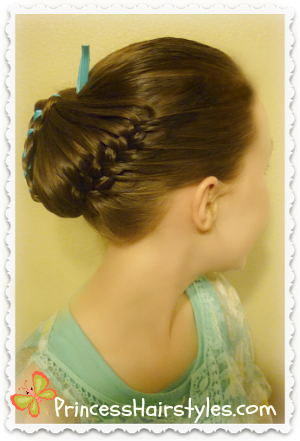
Our video this week is a highly requested tutorial for a cute braided butterfly hairstyle which we first saw on an Instagram account (pr3ttygirl79) a few weeks ago. You can see the original photo here. After reposting this fun spring style on our Instagram and Facebook pages, we had an overwhelming amount of requests for a tutorial. So, we decided to try and recreate it for you. I have to admit that our recreation did not turn out nearly as cute as the original! And I'm not exactly sure we did it the same way "pr3ttygirl79" did. But... an "A" for effort, right? ;) We had fun trying, and "the Princess" absolutely loved wearing this hairstyle. By the way, wouldn't this be a cute hairstyle for Easter?
This one is definitely an "attention getter.". You can be certain that wherever you wear this hairstyle, you will receive many compliments and inquiries about it. I love that although it is clearly a butterfly, it's not super "over the top" or obnoxious. Without the antennas, the bun itself is actually quite classic looking and beautifully elegant.
As shown in our video (below) we used part of the ribbon from our 4-strand braid to create the "antennas" for our butterfly. If you would rather use pipe cleaners or wire instead, feel free (and of course, if you don't want antennas in our hair, you don't have to add them at all.) Also, you can really use any type of braid you want for the center of the style. You can substitute the 4-strand for a 3-strand, fishtail, rope braid etc. It's up to you!
Supplies needed to recreate this hairstyle:
- 1 medium size elastic for the ponytail
- Ribbon (ours was approx. 2 feet long)
- 4 small, clear elastics
- Topsy Tail (optional)
- Several bobby pins
- Alligator or claw clips (temporary)
- Gel, pomade, or water for controlling flyaways (optional)
Butterfly Hairstyle Video Tutorial: (Click here to watch the video directly on YouTube.)


Thank you so much for this tutorial- this looks perfect for the baptism we have coming up in s few more months! I am so excited!
ReplyDeleteThank you so much for this tutorial- this looks perfect for the baptism we have coming up in s few more months! I am so excited!
ReplyDeleteI had been trying to figure out a way to do this a while back and you nailed it! I love it!
ReplyDeleteBrianna
Girls Curls